Why shipping labels matter
A shipping label is the single most important sticker on your package. It tells the carrier where the parcel is going, who it's for, how much it weighs, and how it should be handled. If anything on that label is wrong — a missing apartment number, an unreadable barcode, a faded print — your package gets delayed, returned, or lost.
For small sellers, labels are also a branding opportunity. A clean, professional-looking label signals that you take your business seriously. A crumpled, handwritten label that's half-taped over signals the opposite.
And then there's cost. Carriers charge surcharges for labels that don't scan, for packages with incorrect weight, or for addresses that need manual correction. Getting the label right the first time is the cheapest way to ship.
Use the Shipping Label Generator to create a clean, printable label in your browser. No design tool, no install, no account.
What goes on a shipping label
Every shipping label needs the same core set of information. Carriers may have different templates, but the required fields are consistent.
| Field | What it includes | Why it matters |
|---|---|---|
| Return address | Your name or business name, street, city, state, ZIP | If the package can't be delivered, it comes back to you instead of disappearing. |
| Recipient address | Full name, company (if applicable), street, apartment, city, state, ZIP | This is where the package goes. Missing apartment numbers or wrong ZIPs cause delays. |
| Package weight | Weight in pounds and ounces (or kg) | Carriers charge by weight. Incorrect weight triggers surcharges. |
| Service level | Priority Mail, Ground, Express, etc. | Tells the carrier how fast to move the package. |
| Tracking barcode | Scannable code + human-readable tracking number | Every scan updates tracking. A bad barcode means no tracking updates. |
For international shipments, you'll also need customs information: a description of contents, declared value, and country of origin. Some carriers require a separate customs form (CN22 or CN23).
Standard shipping label sizes
The industry standard is 4 × 6 inches (100 × 150 mm). This size is used by USPS, UPS, FedEx, DHL, and major e-commerce platforms. It's optimized for barcode scanners and fits neatly on most parcel boxes and poly mailers.
| Label Size | Best For |
|---|---|
| 4 × 6 inches | Standard shipping — the default for most carriers and parcels. |
| 4 × 8 inches | International shipments or B2B cartons that need extra space for customs info. |
| 8.5 × 11 inches (A4) | Home printing on regular paper. Cut out the label and tape it on. |
Using a label smaller than the standard can cause important information to be cut off, hidden, or difficult to scan. Stick to 4 × 6 or larger for anything that goes through a carrier network.
1 Enter sender and recipient details
Open the Shipping Label Generator and fill in your return address and the recipient's shipping address. The form accepts standard address formats and handles apartment numbers, suite numbers, and international addresses.
Double-check the recipient's ZIP code and street number. These are the two most common sources of delivery errors. If you're shipping to an apartment, always include the unit number.
2 Add package weight and service
Enter the package weight and select the shipping service. If you're not sure of the exact weight, round up slightly — carriers charge by weight brackets, and it's better to overpay by a few cents than to trigger a surcharge.
Choose the service level that matches what you purchased: Priority Mail, Ground, Express, or whatever your carrier offers. The service level appears on the label and tells the carrier how to route the package.
3 Generate and download
Click generate to create the label. The tool produces a clean, printable PDF or PNG with all the required fields, a scannable barcode, and a professional layout.
Download the file and save it somewhere you can find it. You can reprint the same label if the first print comes out crooked or faded.
4 Print and attach
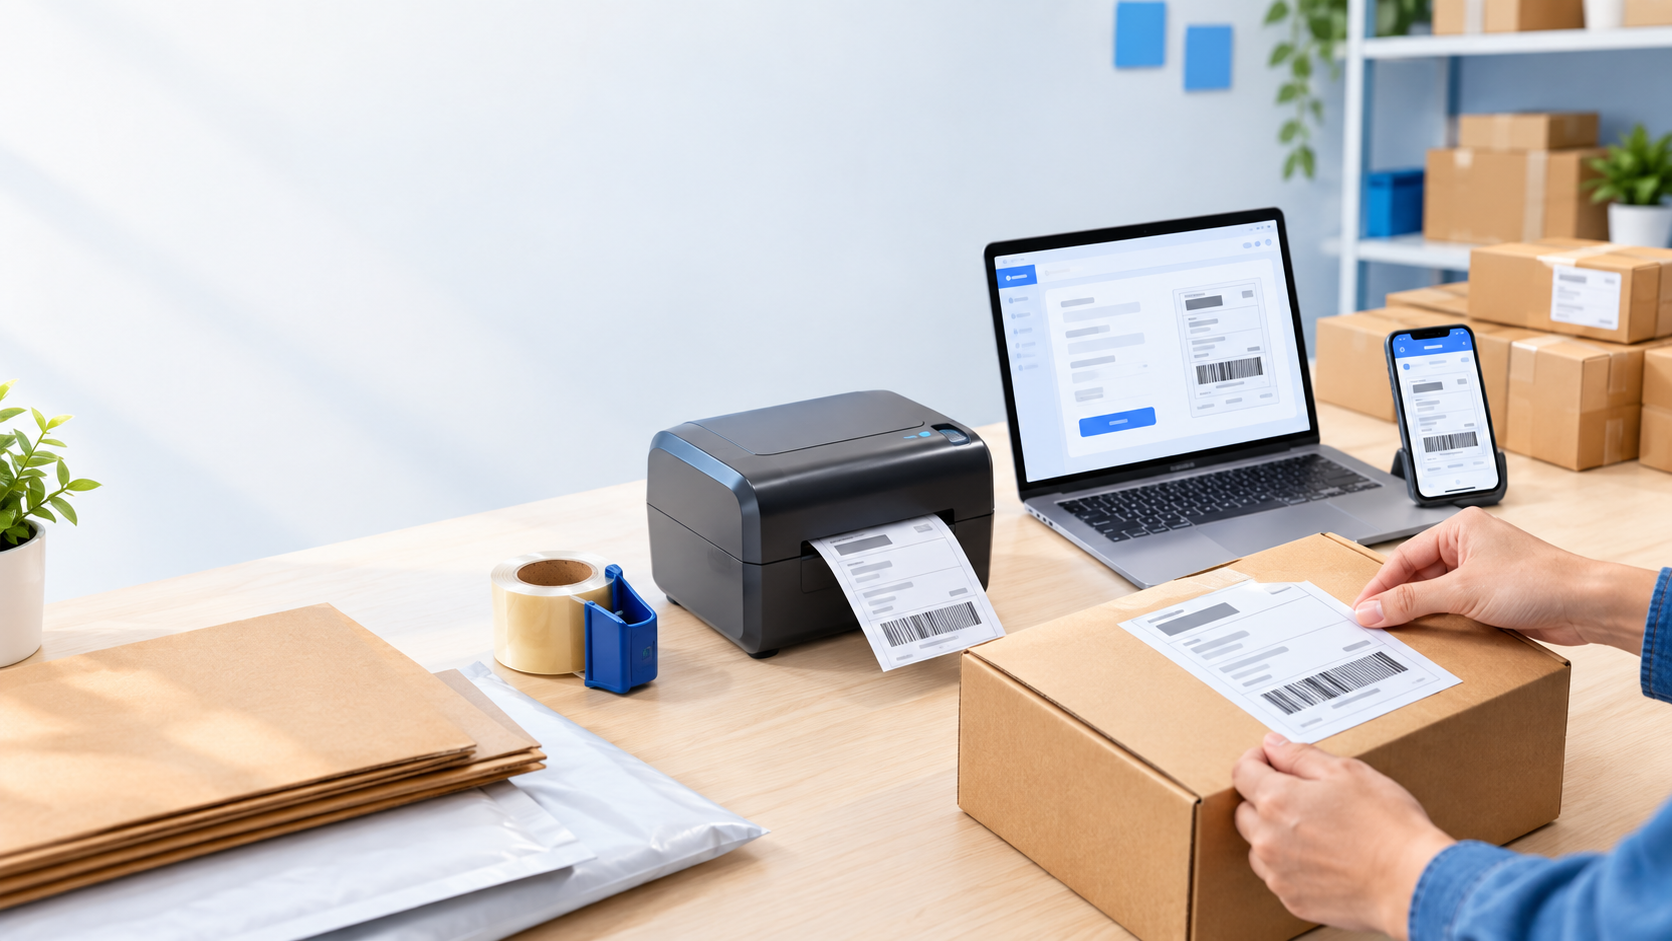
Print on a 4 × 6 thermal label if you have a thermal printer, or on regular letter paper if you don't. If you're using paper, cut out the label and tape it securely to the package.
Here's the rule that matters most: the barcode must be flat and not folded over an edge. If the barcode bends around a corner, the scanner can't read it. Tape over the entire label — including the barcode — with clear packing tape to protect it from rain and scuffing.
Shipping Label GeneratorCreate printable shipping labels in your browser
Printing options (thermal vs regular)
Thermal label printer
A thermal printer is the standard for high-volume shippers. It prints directly onto 4 × 6 labels without ink or toner, and the output is sharp and smudge-proof. Thermal printers are fast, reliable, and designed specifically for shipping labels. If you're shipping more than a handful of packages per day, a thermal printer pays for itself in time savings and label quality.
Regular inkjet or laser printer
For small sellers shipping a few packages a week, a regular printer works fine. Print the label on standard letter or A4 paper, cut it out, and tape it to the package. The key is to print at 100% scale — don't let the printer "fit to page," because that shrinks the barcode and can make it unscannable.
Don't buy a thermal printer until you're shipping enough packages to justify it. A regular printer, clear tape, and a pair of scissors will get you through your first hundred orders.
The shipping label checklist
- Double-check the address. Street number, apartment number, ZIP code. These are the three most common errors.
- Use the standard size. 4 × 6 inches for carrier shipping.
- Print at 100% scale. Don't shrink the label to fit the page.
- Keep the barcode flat. No folds, no curves, no tape wrinkles over the code.
- Tape the whole label. Clear packing tape protects against rain and scuffing.
- Include a return address. It's your safety net if delivery fails.
- Add a packing slip. Not required, but it helps the customer confirm what they ordered.